Epoxy Concrete and Garage Floor Paint

Overview
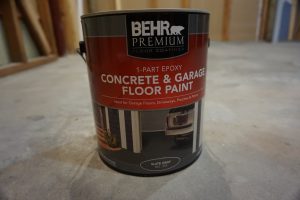
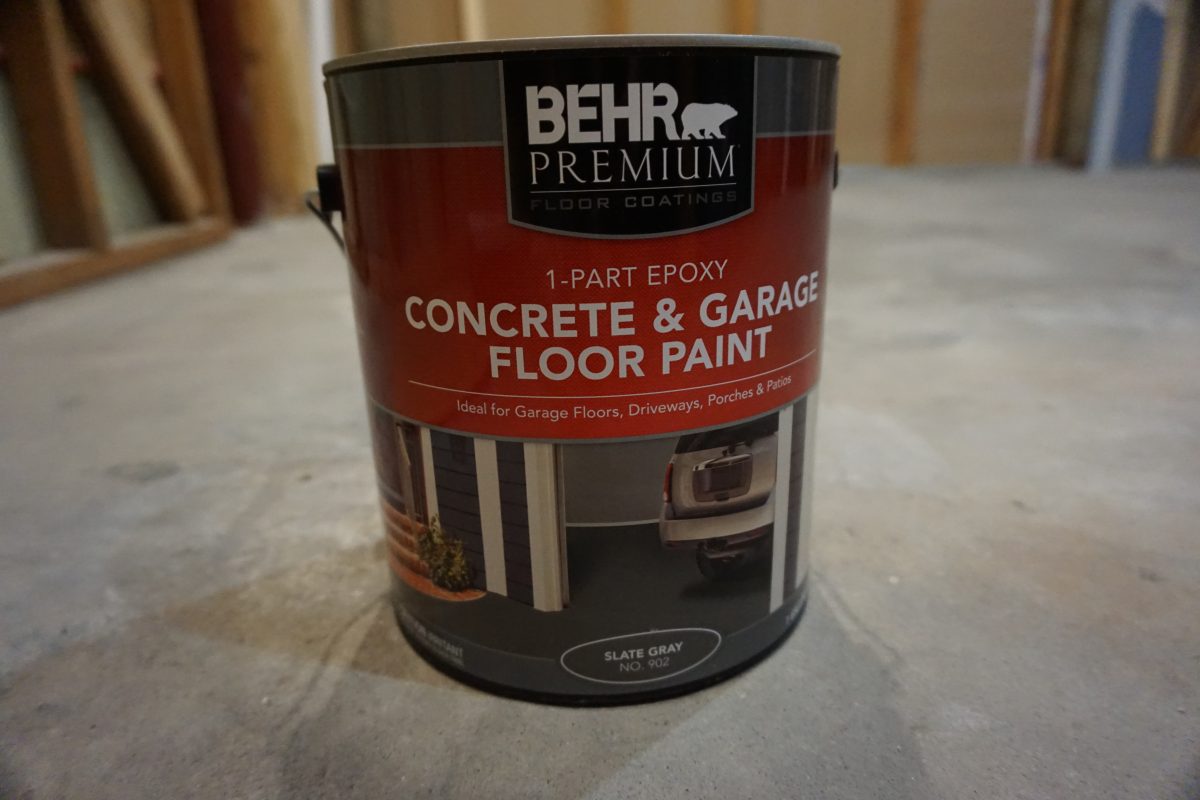
My decision to go with Behr 1-Part Epoxy Concrete and Garage Floor Paint was based on price and ease of application.
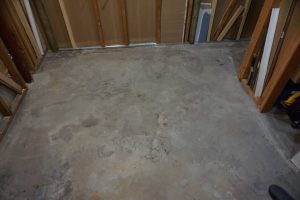
This is my small workshop floor which is around 225 sq/ft. For the longest time, it was just a run down floor in dirty area of the basement. This shop is where I prep and work on things for the house, car, etc. I wanted to breathe some life into it as well as organize the shop as it is at the point where I may spend 30 minutes looking for a tool or something.
It has evolved into a home gym these days.
To rebuild this area, I want to add heat, electric, a workbench and storage. So I figured I would start with the floor and work around it. Also, a finished painted floor will clean up easier and I’ll be able to find fallen parts easier.
Prepare and Repair
You should check your floor for water issues first. You can do this by taking a 1 foot square of plastic and taping it to the floor. Let it sit for a day and then check the under side. If there is any water or moisture, you need to resolve that first.
If you have any cracks or holes, you will want to patch it with some flooring compound and/or self leveling cement and allow it to dry depending on the product you use. You can tape and prep the bottom of the walls to avoid any splatter. Since I may or may not cover these areas with sheetrock, I left it open. Again, since this is a workshop area, I’m not too concerned.
I skipped the etching step all together. This is a recommended step, but I think it is more if you plan to have heavy traffic in the area like in a garage. The floor was pretty clean.

Applying the Behr Paint Premium Floor Coating
After I swept and vacuumed the area, I just started painting the floor with a 3/8 nap roller without edging in with paintbrush. Edging in with a paint brush usually takes the longest when painting walls and ceilings.
It is recommended to use the Behr Paint Bonding Primer prior to the Floor paint, but I skipped that step all together. We will see how it lasts over time.

The painting was the easiest and fastest part. Getting stuff out of the room and cleaning is always the challenge. But it’s like that whenever you paint anything.
You also don’t have the little paint dots all over your clothes and body like you get when painting ceilings and walls.
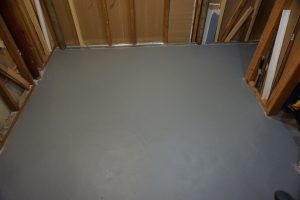
So for less than $35 and a couple of hours, I had a fresh floor in the workshop. I already had some rollers and paint gear from previous projects. It also helped me purge some old junk that I acquired over the years.
Lazy and Easy
This was a lazy project for me without a lot (or any) of planning or effort. So a quick affordable DIY project if you are looking to renew a basement floor. It recommends only 2 coats are needed, but in the areas where I expect more traffic, I put down 3 coats. The smell was barely noticeable. I expected it to have a stronger chemical smell since it is floor coating, but it smelled like regular latex paint.
One of these days, I want to tackle my garage where the floor is pretty much destroyed and will need a deep cleaning, patching and etching before seeing any paint or epoxy.

Why I didn’t choose Drylok Concrete Floor Paint or Rust-Oleum’s EpoxyShield
I have used Drylok Masonry waterproofer products for basement wall sealing in the past and they make a really good product. The fumes were really strong. You really need to have some good ventilation when using their waterproofing products.
If this were a garage or I had better ventilation options, I would think about this option more since I have had good results with other Drylok products. It also looks like a really good product to use on the foundation of a house or a concrete patio. Looks like it leaves a finish that can take a good beating from daily use.
The Rust-Oleum EpoxyShield was something I didn’t entertain too much due to the space. Price was a factor. If it were for a 2 car garage, I would go with this product.
Let me know what you think in a comment below. Was this helpful ? Have you tried this product or similar one ?
Thanks for reading,
Scottie

