How to fix your leaking Delta faucet
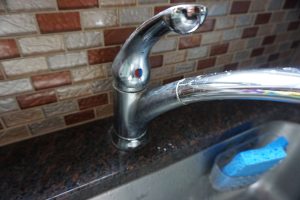
A dripping Delta kitchen faucet is a nuisance and a waste of water. Sooner or later faucets leak, but it is an easy fix with some basic household tools.
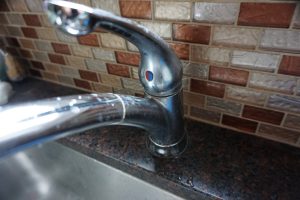
This Delta faucet has been in our kitchen for about 10 years and like any kitchen, it is used every day. You will need a replacement seal kit and can buy authentic Delta parts or a 3rd party brand. I have used both and the 3rd party sets have worked for me so far in faucet and delta faucet cartridge for shower applications.
Preparation
This fix can be done in 30 minutes or so.
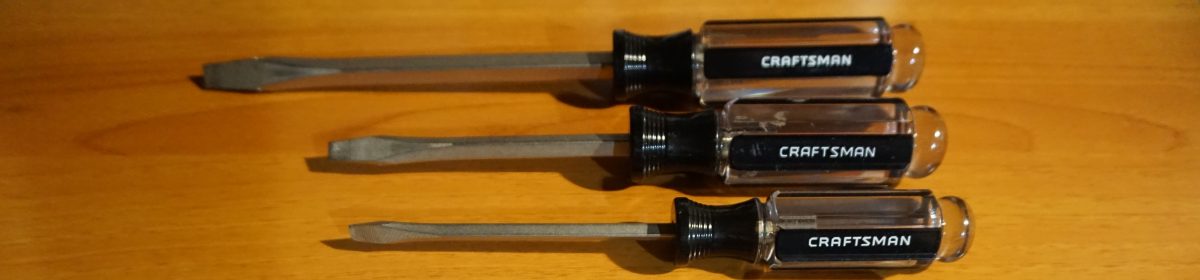
Tools you will need:
– Replacement seal set
– Small screwdriver
– Channel Locks
– Allen key set
– Paper towels
Start by turning off the hot and cold water under the sink. These valves will usually turn 90 degrees. It is a good idea to check for any small leaks or corrosion. I wrap a paper towel or place it under the valve to help spot any unwanted water. Now, cover the sink drain in case you have any small parts go rouge.
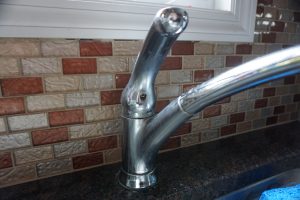
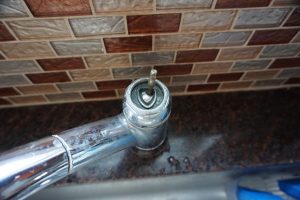
Taking apart the Delta Faucet
This little blue and red plastic piece is the cover for the allen screw that holds the handle in place. Pull it off with a small screw driver and then use an allen wrench to get the screw out. These screws tend to get a little gunked up and may stick. A little pressure and patience will slowly eek it out.
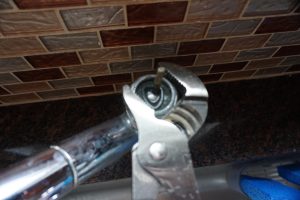
Once the screw is out, set it aside where it will not be lost. The handle should pull off pretty easily with a little wiggle. This will expose the top chrome ring which has some notches in it so it can be removed with a pair of channel locks. The notches are covered by the handle when it is fully assembled, so you do not have to be too concerned about scratching above the notches. You will see this white ring and the stem shown in the picture. Put the ring aside and pull up on the stem. It will come up along with the round piece that is holding it in place. Put those aside and grab your small screwdriver.![]()

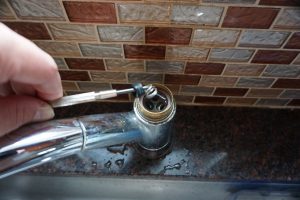
Stick the screwdriver in the hole where you see the black rubber seal. Pull it up on the edge and the seal and spring come out together. Pull the other side as well while making note of how the springs are seated within the seal.
Put it back together
Now simply reverse the process, by putting the new spring and rubber seal together. I usually slide them over the small screwdriver, so I have a guide to start them in the hole. Once they are in place, I use my finger to push it in the hole. Again for the other side.
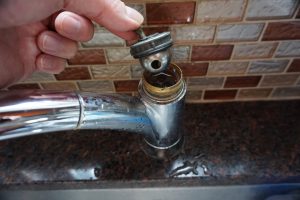
Clean off the stem and ball with towel if there is any build up. Install the stem, so the flat part faces towards you in the top circular piece that holds the stem. This plastic and rubber piece is notched for the metal faucet seat, so just make sure you are not forcing it in. It should seat pretty easily. Replace the white plastic ring, the notched chrome cover and the handle. Once the handle is in place, the allen screw and the blue and red cover are installed.
Now turn the water back on. If it leaks a little, take it apart and do it again. Chances are something didn’t seat properly.
Otherwise, wash your hands, put your tools away and grab a drink.